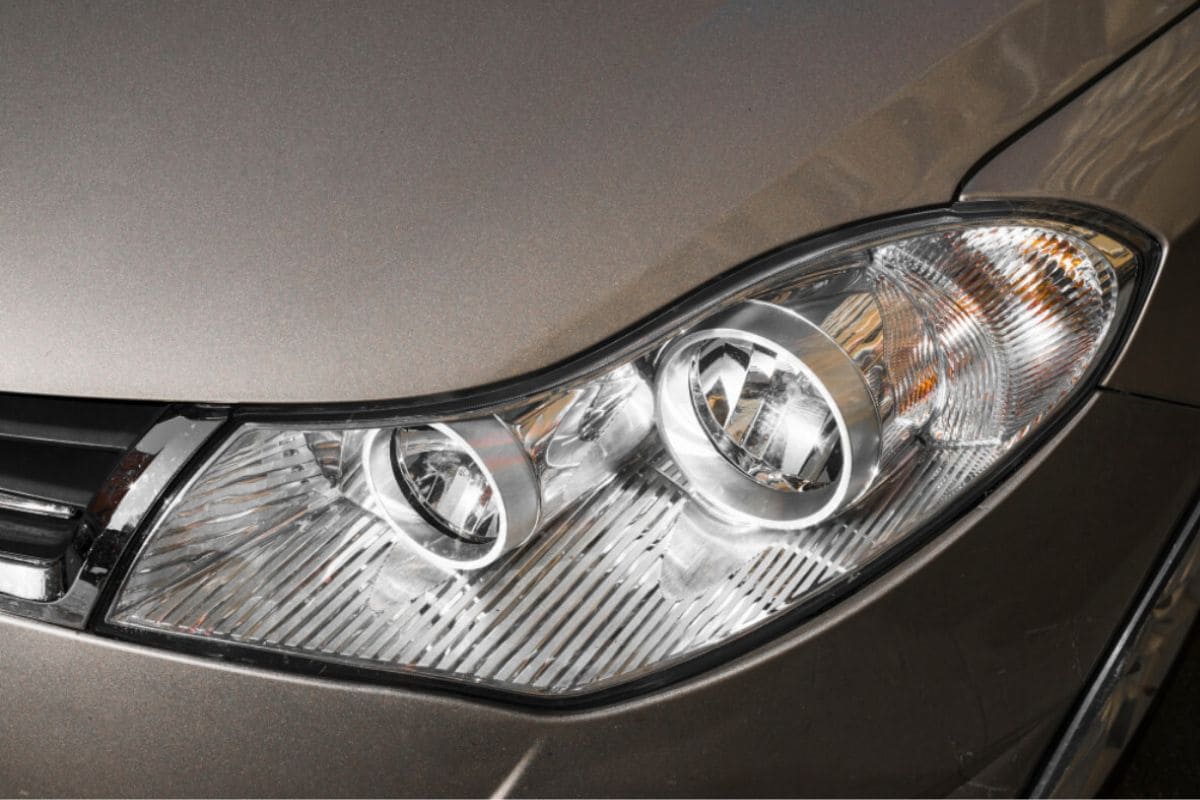
Tinting the headlights of your car can easily add style and protection to it. Thereby, making your car look unique while shielding the lights from potential scratches and fading. If you are considering headlight tint Mississauga options, or wondering about how to tint car headlights effectively then here is a proper guide to help you do it right. Whether you choose to go DIY or visit a professional, these tips will ensure your headlights get a perfect, lasting tint.
1. Choose the Right Tint Film or Spray
The first step in installing headlight tint is picking the right product. You can go for vinyl tint films which usually come in various shades and colours or choose a spray-on headlight tint. Tint films typically offer more control over the shade. On the other hand, spray tints can give a smooth even coat with fewer steps.
Vinyl Tint Film
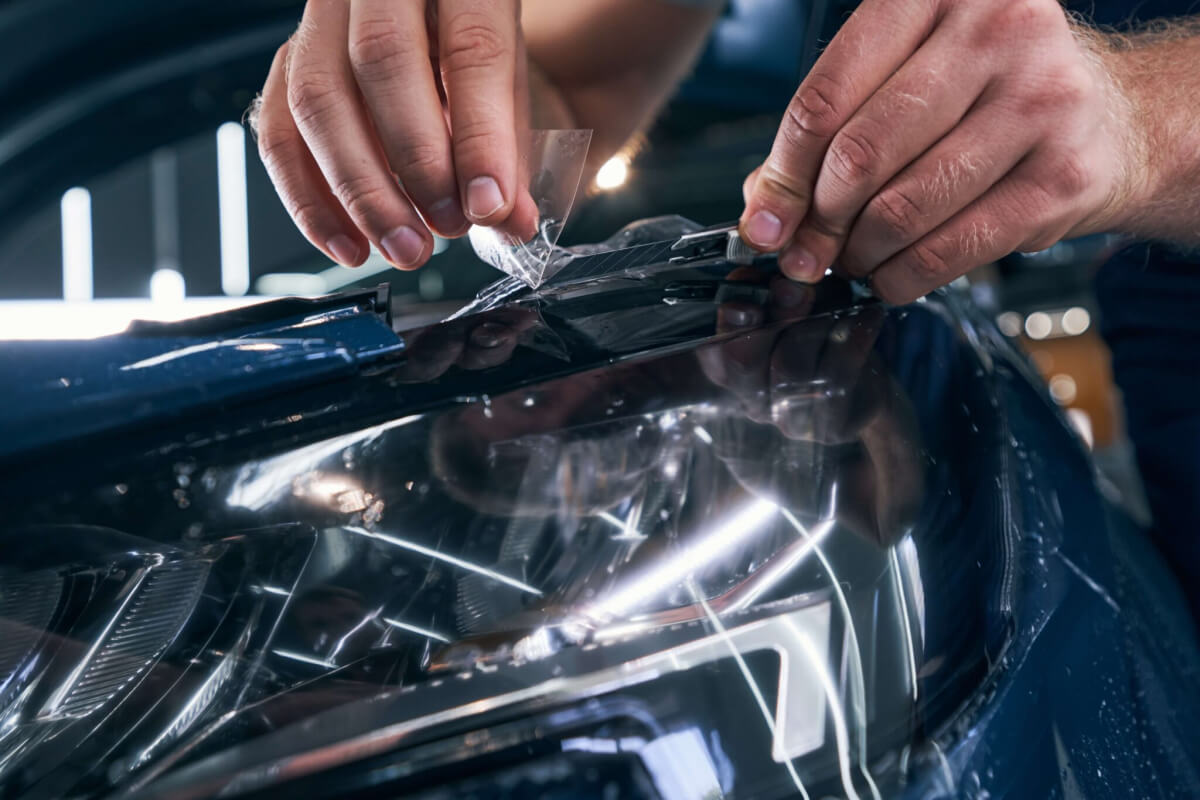
Vinyl tint films are easy to apply and remove. They are ideal if you are looking to customize your headlights with different colours or levels of darkness. You just need to make sure to select a high-quality film that is resistant to fading, cracking or peeling, especially in harsh weather conditions.
Spray-On Tint
A spray-on tint is great if you prefer a permanent and smooth tint. It is essential to spray it in even layers and follow the manufacturer’s instructions in order to avoid streaks or an uneven finish. Spray-on headlight tint provides a glossy and sleek appearance but requires a steady hand for the best results.
2. Clean and Prep Your Headlights
A clean surface is essential to ensure the tint film or spray adheres properly. You can generally start by washing the headlights with soapy water and a microfiber cloth in order to remove dust, dirt and oil. After cleaning, use an alcohol-based cleaner to eliminate any remaining residues.
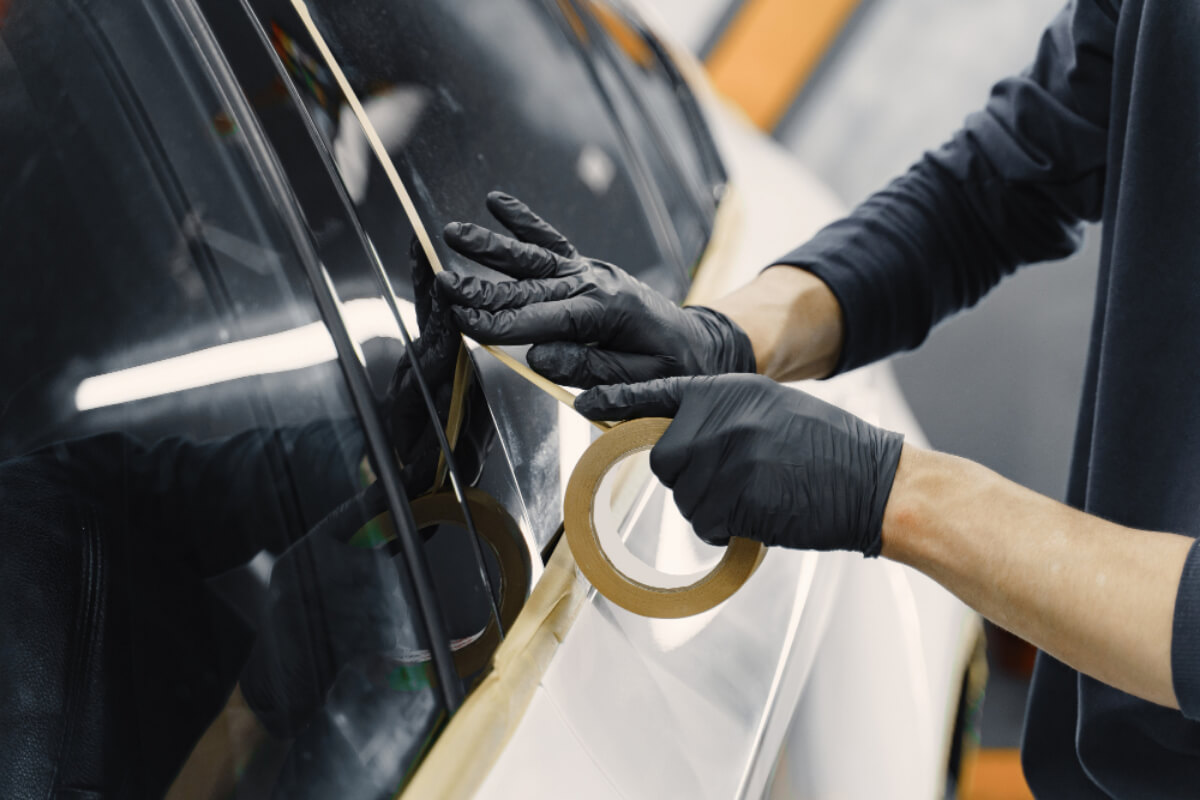
If using vinyl film then you’ll need to dry the headlights completely. For spray-on headlight tint, make sure to cover surrounding areas with painter’s tape and newspaper to avoid overspray on the car’s body.
3. Measure and Cut the Tint Film
When you are applying a vinyl film, you need to first measure your headlights to get the correct size of the tint film. Cutting slightly larger pieces allows you to trim the edges once applied. Thus, ensuring complete coverage. Precision is key in installing headlight tint correctly. So, take your time during this step.
4. Use Heat for a Seamless Application
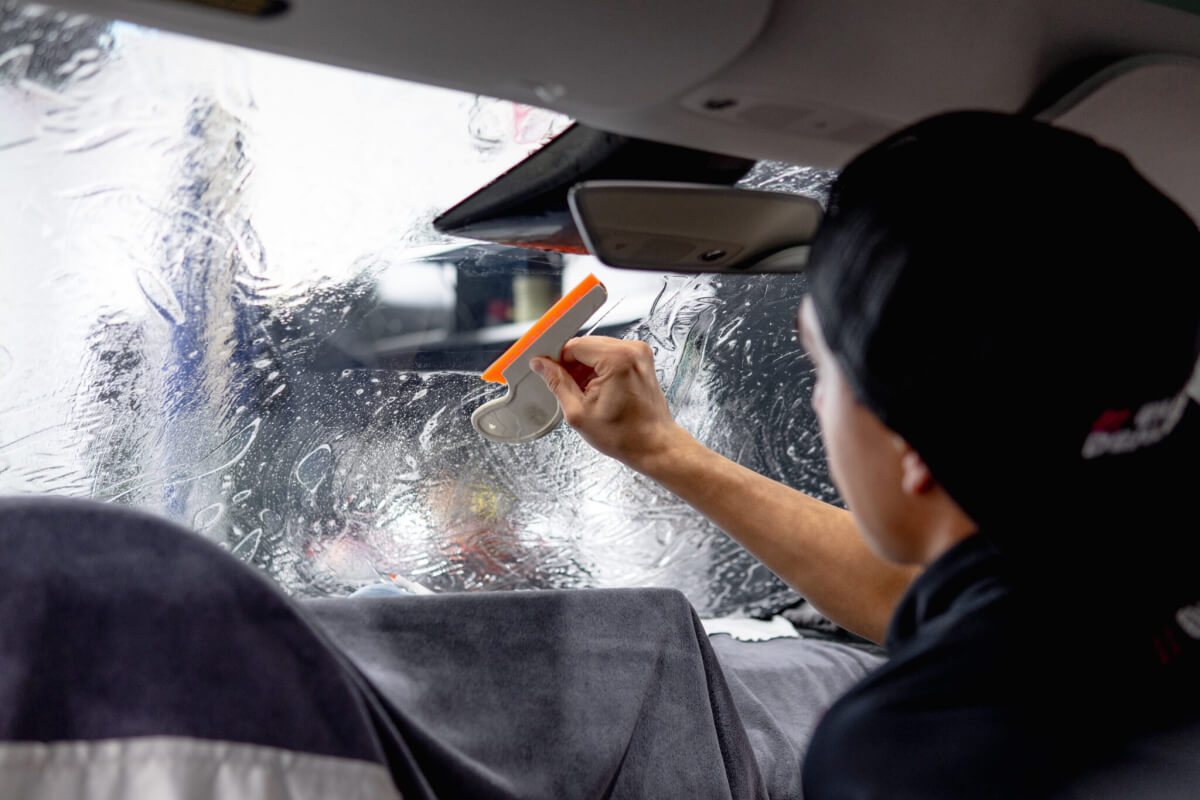
If you are using vinyl film then a heat gun or hair dryer helps make the film more flexible. Thus, allowing it to conform smoothly to the curves of the headlights. After placing the tint on the headlight, apply gentle heat to soften the film. This will help in making it easier to stretch and adjust. However, carefully work out any air bubbles with a squeegee for a clean and bubble-free finish.
5. Apply the Film or Spray Evenly
When applying the tint film, start from the centre and work outward with the help of a squeegee in order to press the film down evenly. Take your time and move slowly to avoid creases or bubbles. For spray-on headlight tint, apply light and even coats. In addition to this, multiple light layers give better coverage and prevent runs or streaks as compared to one heavy coat.
6. Trim Excess Film
After placing the tint film, use a precision knife to trim off any extra film around the edges of the headlight. Make sure to cut along the edges in order to carefully avoid scratching your headlights. This step ensures the film has a clean and fitted appearance. Hence, giving your headlights a polished look.
7. Let the Tint Set and Dry
After you tint your headlights, give the film or spray tint time to dry and adhere completely. For vinyl film, this typically takes a few hours. While the spray-on tint may require 24 hours to fully cure. It is also important to note that one should avoid washing or touching the headlights during this time. This should be done to prevent the tint from peeling or smudging.
8. Maintain the Tint for Long-Lasting Results
Regular maintenance will keep it looking fresh and prevent fading once the tint is applied. Clean your headlights with a gentle soap and water solution. Thereby, avoiding harsh chemicals that can damage the tint. You can also use a UV-protective sealant which can further help to extend the life of your tint by preventing sun damage.
Professional Installation for a Flawless Finish
If you want a flawless result then you should typically consider a professional headlight tinting near you service. This is due to the fact that the experts know how to tint car headlights precisely. They make use of high-quality materials and tools to ensure a smooth and durable application. Plus, they will have experience in tinting all types of headlights and can often complete the job faster and more efficiently than a DIY approach.
Conclusion
Tinting your headlights is a great way to customize your car while protecting your lights. For those who are generally looking for high-quality headlight tint Mississauga services, Dreams Canada Wraps offers expert installation and a variety of tint options. Let our professionals help you achieve the perfect look for the headlights of your car – contact us today to schedule your installation!

