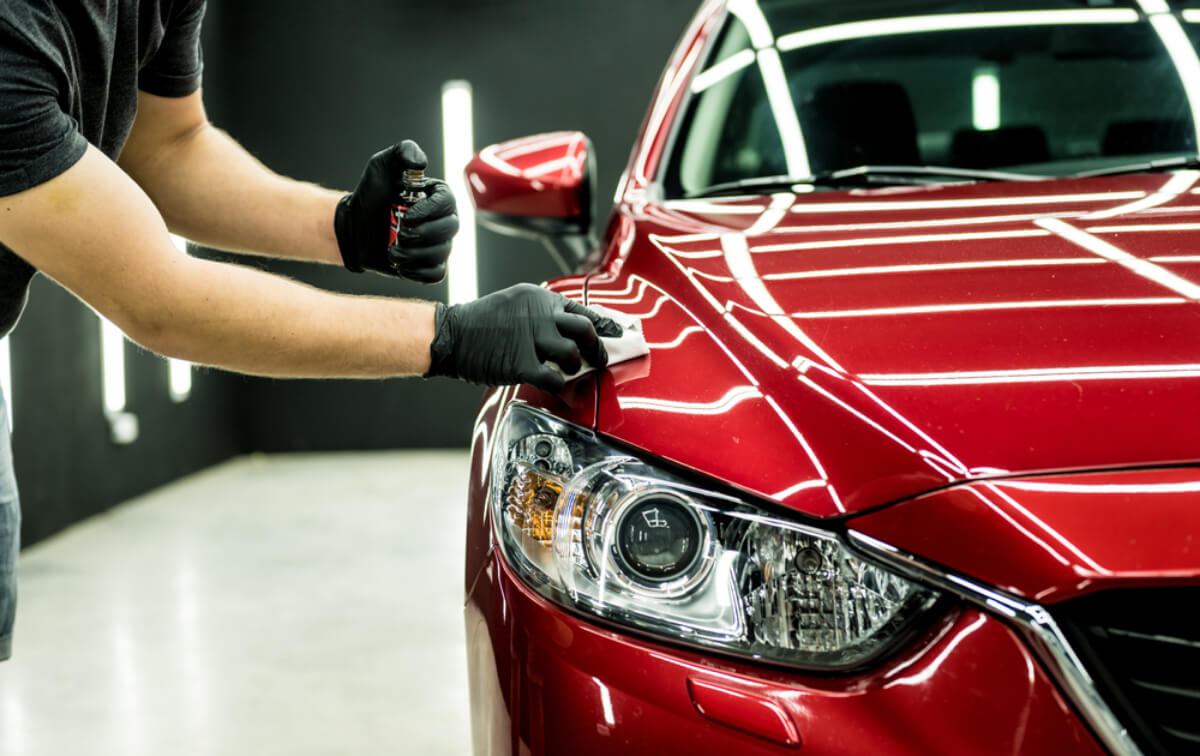
You’ve enjoyed the custom look of your tinted lights, but now it’s time for a change—or maybe you need to comply with local rules in areas like headlight tint Mississauga. Getting vinyl film off your car lights can seem risky. If you speed, you may end up scratching the plastic or maybe leaving a sticky, nasty residue.
Fortunately, with a few simple tools and some patience you can remove the car light tint off the lenses yourself. This guide gives you the exact DIY headlight tint removal step by step process for a clear and scratch-free headlight.
Why Safe Headlight Tint Removal is Key
Before you begin pulling, keep in mind the material of the headlight lens, which is durable yet sensitive plastic (polycarbonate). You will need a method that loosens the vinyl and melts the adhesive, but won’t cause warping of the plastic or fine scratches. This is why it is so important to follow a safe headlight tint removing step by step guide.
Most people will damage their lights in two ways:
- Scratches – Over-scratching or the use of metal tools that are too sharp.
- Residue from adhesive – Try to strip off the film without heating the lens sufficiently, and experience sticky glue curling over and sticking onto the lens.
Our approach deems patience and gentle heat in how you remove headlight tint without damage.
Tools You Will Need
You probably already possess most of the materials on the following list in your house.
- Heat Source: Regular hairdryer or low-setting heat gun (heater gun is preferable, but use with care).
- Plastic Scraper: This should be a given! Use a plastic squeegee or plastic razor blade scraper. Metal razor blade on headlamp lens is not recommended.
- Microfiber Cloths: Have some on hand to use for picking up glue.
- Adhesive Remover: Any agent that can weaken vinyl adhesive is okay to use. It can be a remove made specifically for adhesive and is vehicle specific, denatured alcohol, or even a small amount of WD-40.
- Water and Soap: Normal car soap for optimal rinse.
Step-by-Step: DIY Headlight Tint Removal
Follow these exact steps for the best headlight film removal tips on your front light tint or rear headlight tint.
Step 1: Prep and so the surface up
Start the removal by rinsing the lens surface with water and soap to remove any dirt/debris from the surface.
- Heat: Use your hairdryer or heat gun, and hold it 6–8 inches from the lens.
- Target small pieces: Heat a small piece, roughly the size of your hand, for 30–45 seconds. You just want to warm up the vinyl, but not hot, to the touch. If the vinyl is so hot you can’t keep your finger there, then you are heating too much and potentially damaging your lens. Heat will loosen the adhesive under the vinyl leaving adhesive on the vinyl.
Step 2: Take out the tint (Simpliest method to remove tint from headlights)
The easiest method to eliminate tint on headlights is to peel away the film at a low angle.
- Lift the Edge: With your fingernail or using the sharp edge from your plastic scraper, lift on the edge of the tint film with a slightest lift.
- Pull Low and Slow: After you have a small section pulled up, pull the vinyl back towards you, at a very shallow angle (10 to 20 degrees). If you pull straight up, the adhesive will separate and stick to the headlight.
- Keep Heating: While you are pulling, you want to keep heating the next section of film just before you pull it. The intention is to pull the film and have most of the adhesive come off with the laminate.
If the film continues to strip away, or when adhesive attaches a residue, you can apply additional heat and decrease your pulling angle.
Step 3: Scrap off Remaining Adhesive
Of course, you will have residue from the adhesive left after peeling off the film.
- Apply Remover: Either spray or apply a thick coat of either adhesive remover, acetone, or WD-40 to the adhesive residue.
- Give it Time: After placing a liberal amount of adhesive remover onto the adhesive, let it site for approximately 3-5 minutes. This will allow the chemical to soak in and loosen the hard, dried adhesive.
- Scrape and Wipe: Using a clean microfiber towel, wipe away the residual adhesive. If there is some tough stain left, wet the plastic scraper with the adhesive remover and gently scrape away. This ensures headlight tint removal without scratches.
Step 4: Protection and Final Cleaning
Once you have cleaned off the entire adhesive, the lens could have some haze or become dulled.
- Wash Again: Use soap and water to clean the headlight lens to remove all traces of the solvent and adhesive remover.
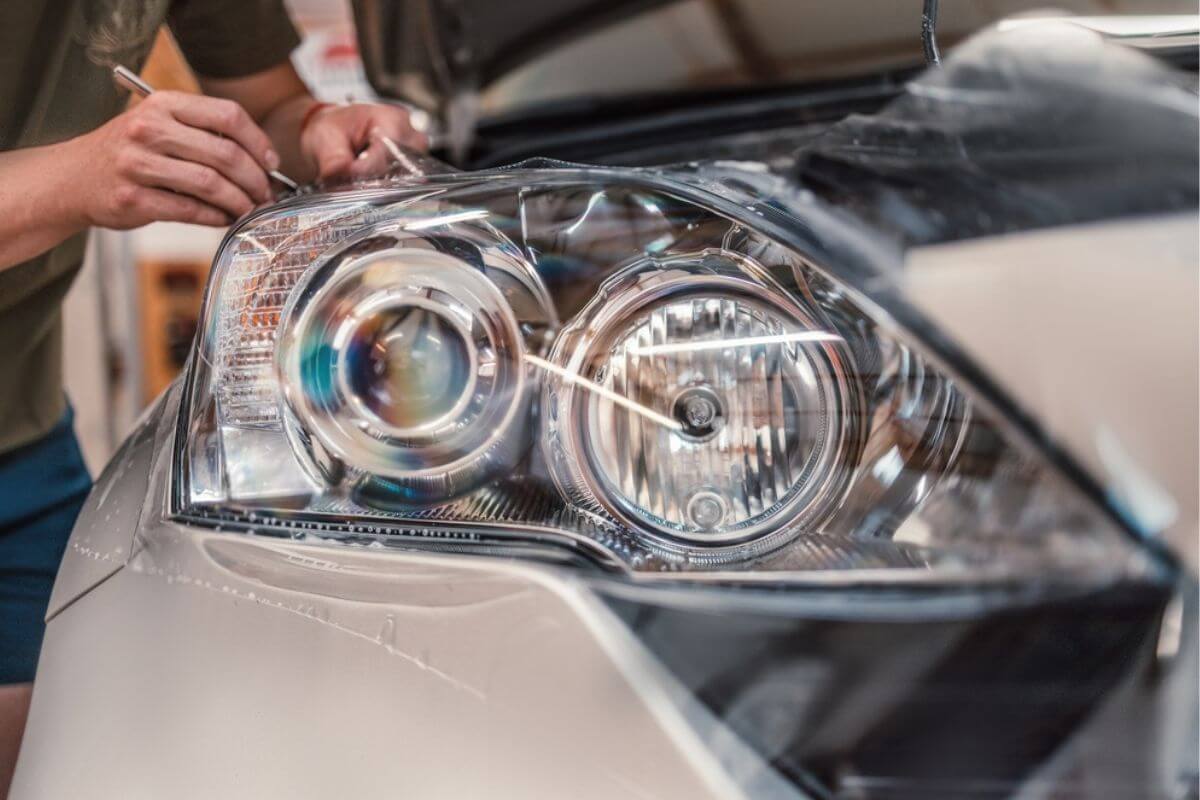
- Protect: Try to use a clean paint protection film if you wish for your lights to remain like new for years to come. You can see how headlight protection film extends the life of your headlights here.
Safety First: Car Light Tint Removal Safety
Whenever performing tint removal safety work on your vehicle, always keep safety in mind:
- Ventilation: If your process of tint removing process requires a chemical remover that is very strong, or you are using a heat gun, always do the work in a well-ventilated area.
- Exercise Caution When Using Heat Guns: When utilizing a heat gun always, always use the lowest setting possible and work in a circular motion without stopping. Overheating can cause the plastic lens to melt or cause damage to the headlight assembly located inside the assembly.
- Legality of Installation: If reapplying any new tail light tint or front film, make sure that you are aware of the local rules. We strongly recommend reviewing whether Headlight Tint is Legal in Canada before moving forward.
- Patience: Patience is the most important tool. Rushing the process is where you can do the most permanent harm.
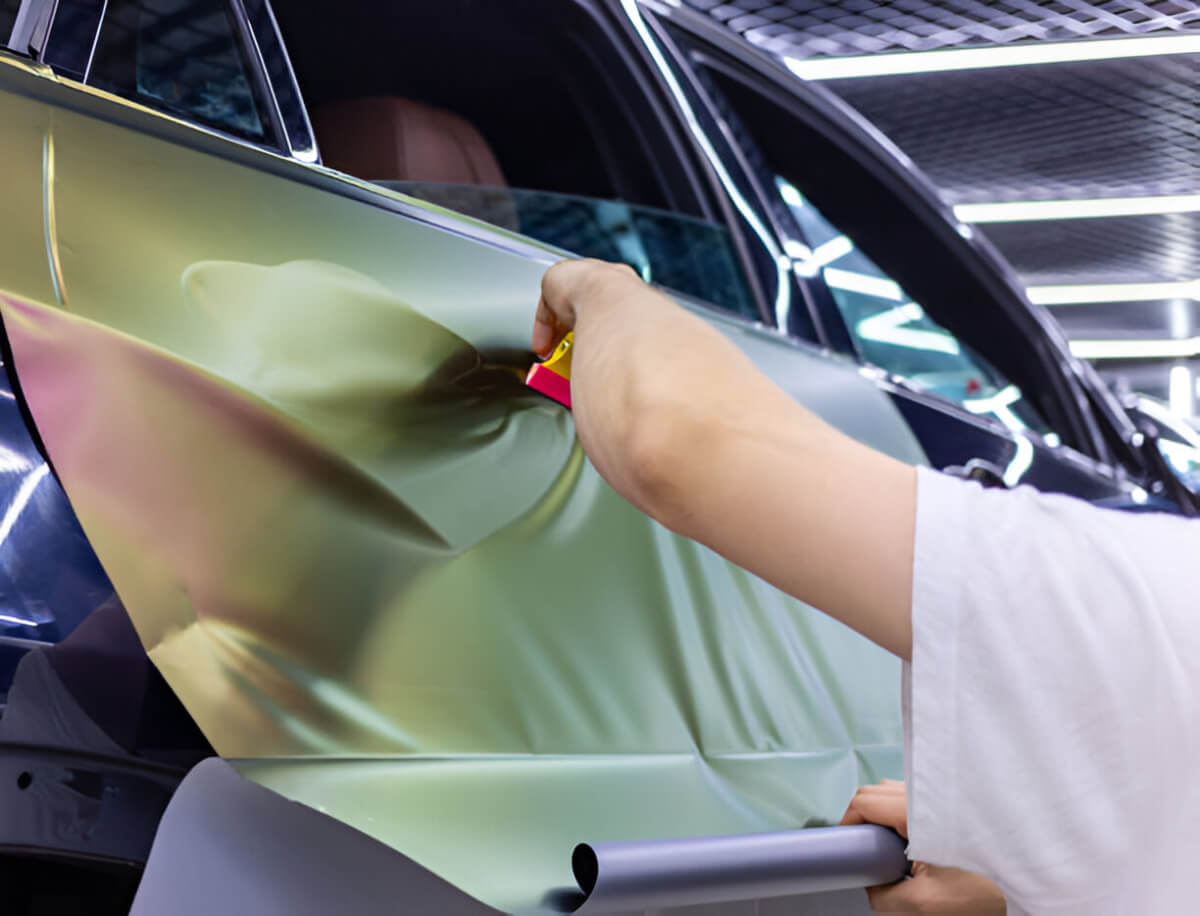
Ready to Apply New Film?
When your lights are clean, you are probably ready to do a new application. If you’re applying a new film, make sure you are using safe methods for the best finish! Get tips and tricks on how to apply headlight tint correctly by following our guide here.
If the do-it-yourself approach seems too complicated, or if you want a clean, bubble-free application on your lights, you can trust the professionals at Dreams Canada Wraps to do the work.
To locate our professional vehicle protection and tinting services in your area, search for areas served like Vehicle Protection Thornhill.